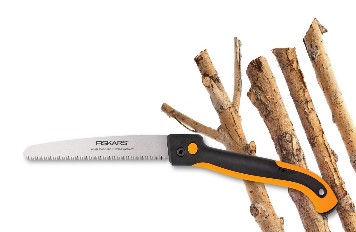
Tips on How to effectively make the Pruning Saw Cut
Making the Cut
- Hold the branch firmly with your non-cutting hand. Just be sure it’s not too close to where you’re making the cut; the saw can jump out of the cut and slice your hand.
- To start the cut, place the saw teeth on top of the branch and slowly pull the blade toward you. This should make a shallow groove in the limb to “seat” the saw.
- When the blade is firmly seated, begin cutting by slowly and carefully moving the blade back and forth. Use the full length of the blade for maximum efficiency.
- Always stay in control of the saw. It’s better to go slowly than to rush the cutting movements; going faster can make the saw jump out of the kerf (the groove made by the saw) or bind (get stuck, especially on the forward motion).
- Never force the saw; it can jump out of the kerf, bend or even snap.
- As you near the end of the cut, slow down – you don’t want the saw suddenly breaking through and catching you by surprise. Cut slowly with the pull stroke until the cut is finished.
- Don’t release the branch until the cut is finished. If you let go, the bark will probably tear as the limb breaks from the weight of the branch.
- For larger branches, use the 3-cut method to prevent torn bark.
As they say, practice makes perfect. If you’ve never used a pruning saw before, practice on a fallen branch or piece of lumber until you’re comfortable with your saw.


